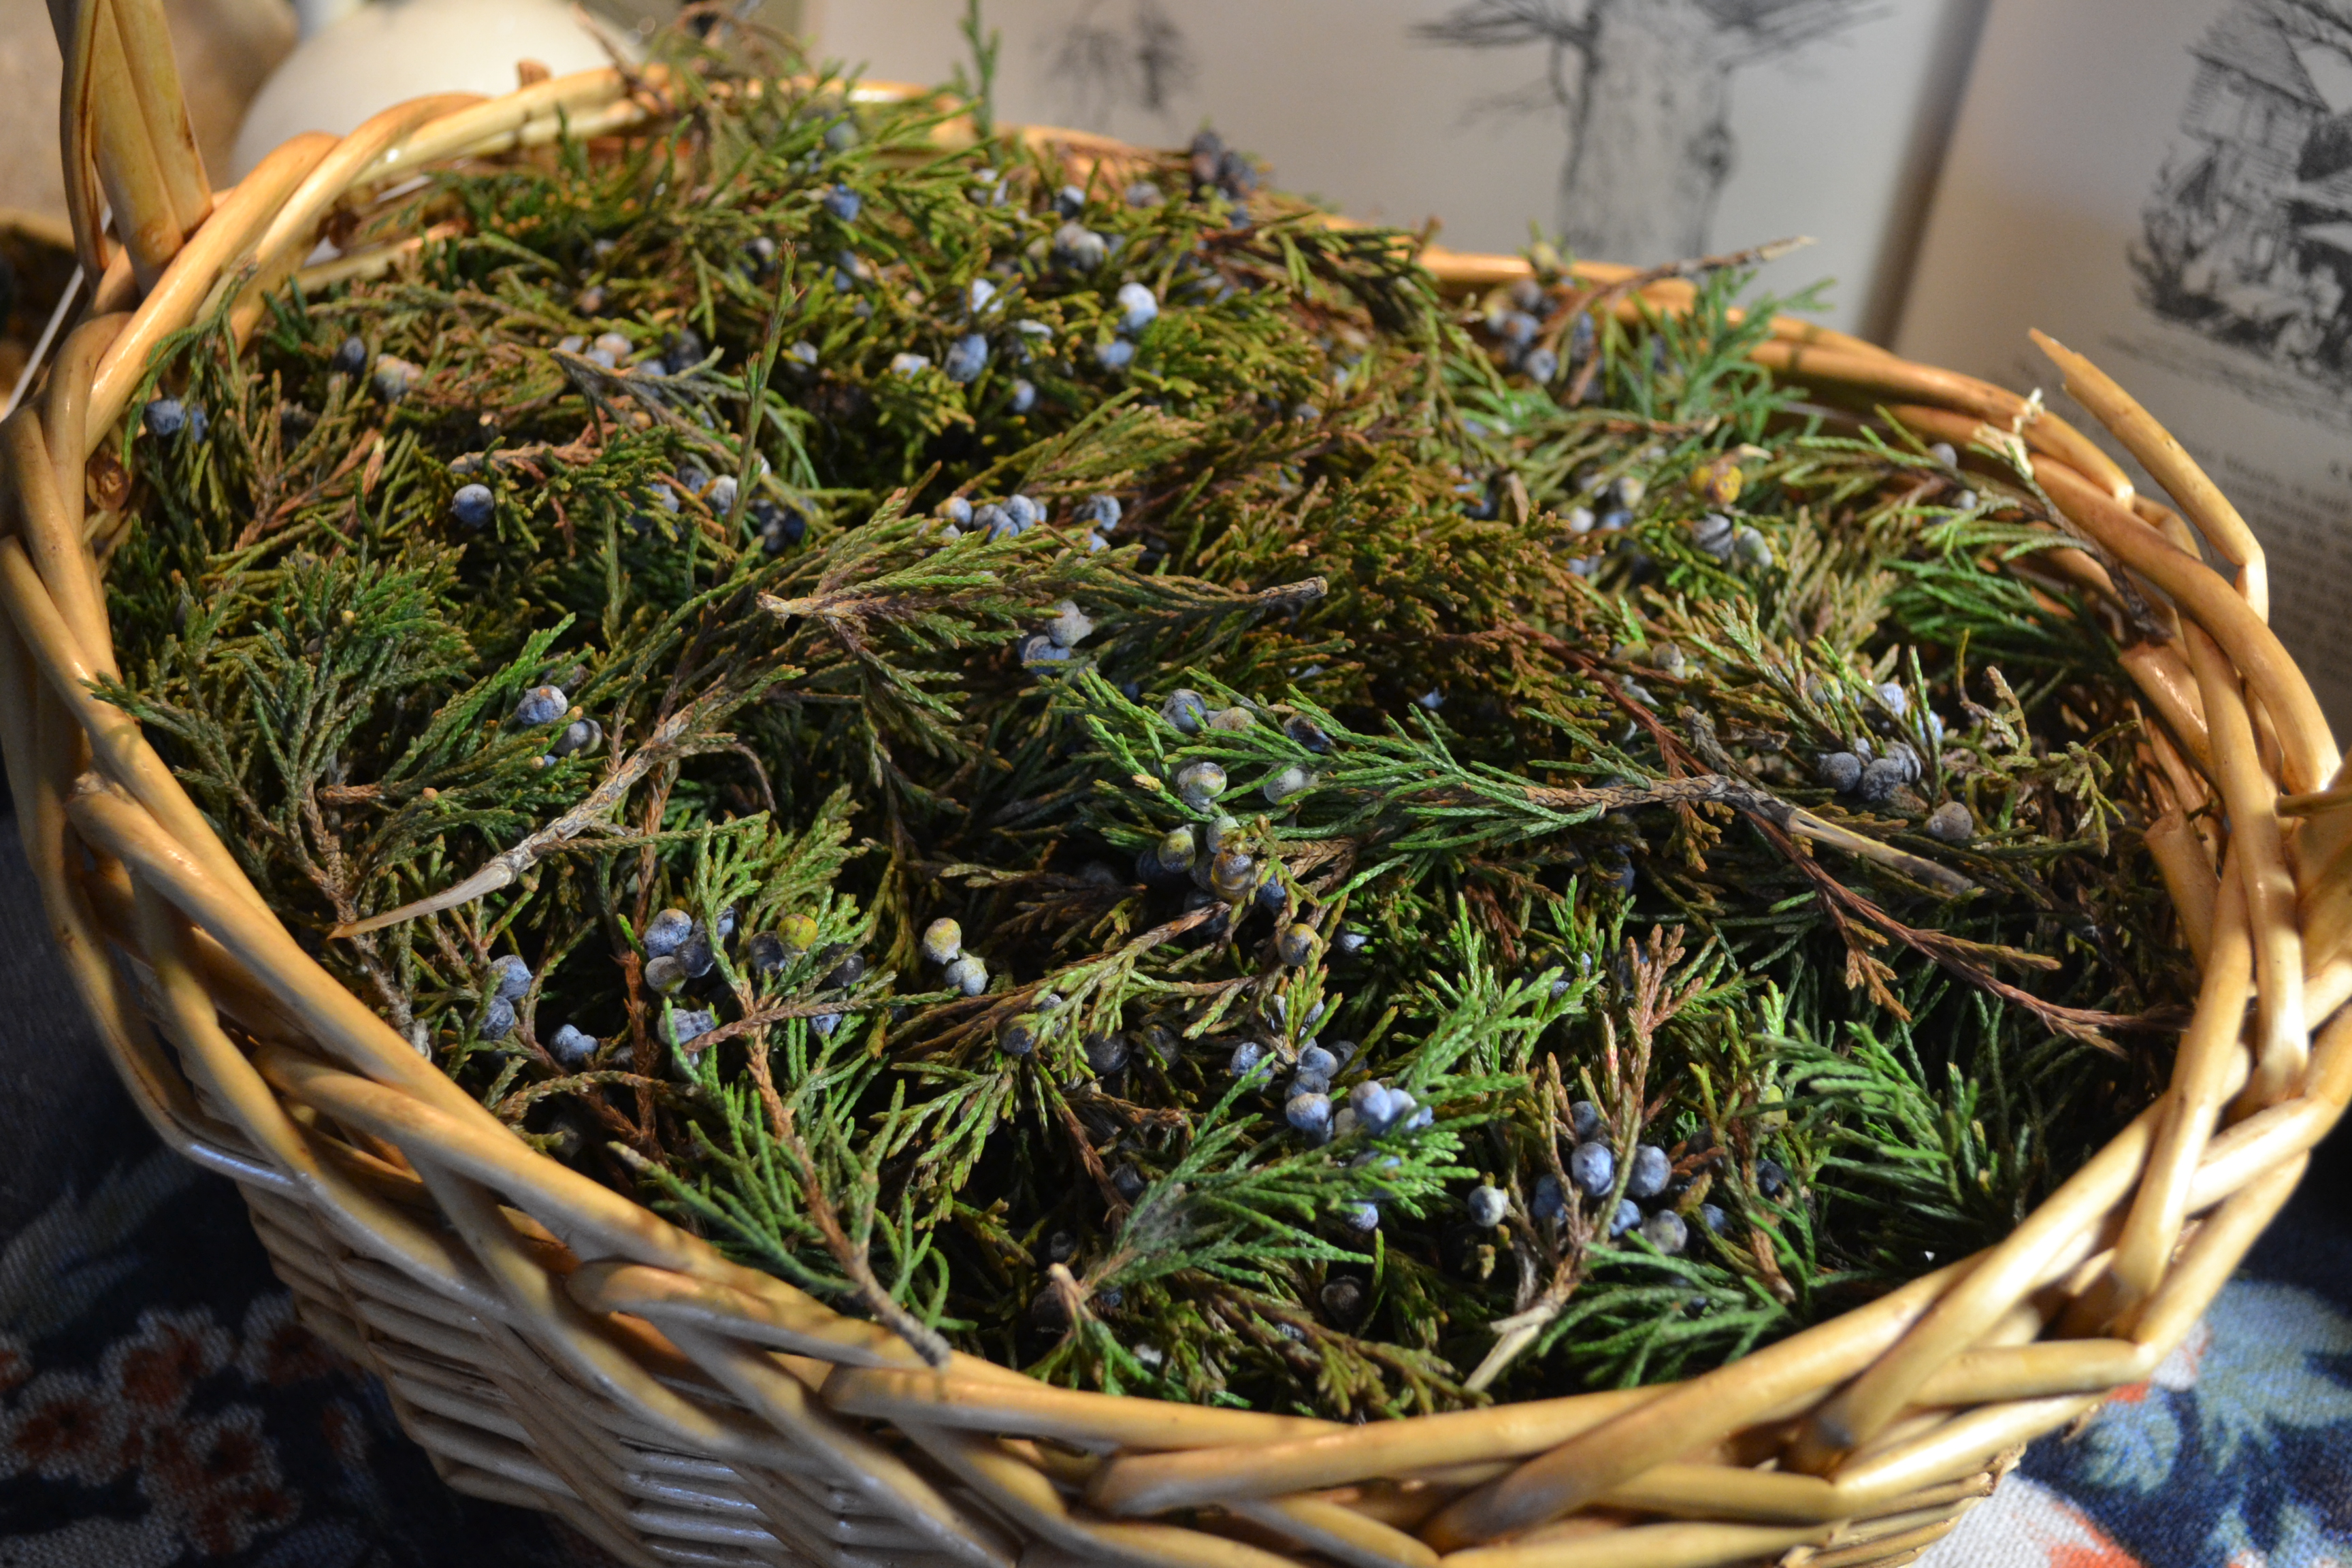
Juniperus virginiana
There is now absolutely no doubt in my mind as to why this is one of the most famous of old European beer recipes. The adaptive recipe that I followed to produce my own take on this profoundly flavored and legendary beer noted that the finished beer would take about a month to fully carbonate in the bottles. Despite this obvious instruction, I couldn’t help but sample this beer early, and to be honest it was carbonated enough. There wasn’t much of a head, but I’m sure this will improve over time. I also wanted to know if this was going to turn out to be another one of my sweeter recipes (which isn’t bad but on many occasions I was hoping for something bitter) or whether I had indeed added a sufficient amount of non-hop ingredients to sufficiently bitter and flavor the beer.
Turns out I was well rewarded for my impatience, more than rewarded in fact. The 1.3 pounds of freshly harvested juniper (from less than 1.5km away I might add), boiled and then steeped in the fermenting wort have imparted an enormous and completely crazy flavor profile. I’ll try to do my best to describe it.. but you had better swing by and grab yourself a bottle or two to truly appreciated it.
The aroma of this specialty herbal dark ale invigorates with sweet evergreen resins, turpentines and hits of wintergreen, peat and oranges. The flavor is lush with fragrant citrus, accompanied by the almost overwhelming and entirely unique coniferous complexity of juniper. It is overall pleasantly bitter with a lingering, tannin-rich and menthol-like aftertaste.
Considering the purity of this recipe (there are no other ingredients other than malt extract and yeast) this beverage can also be considered a medicinal tonic, as the amounts of juniper distilled into this beer are strong enough to effectively transmit its therapeutic properties. I would consider this recipe an effective digestive stimulant, urinary tract-antiseptic and astringent. Juniper possess potent anti-viral and anti-bacterial properties that cleanse the urinary system and also rid the intestines and colon of undesirable bacteria. The astringency aids in digestion by stimulating the liver and gall-bladder to produce digestive enzymes and also reduces inflammation and swelling.
You can bet that I am going to be re-visiting this recipe. I was having an internal conflict about what I thought my favorite home brew recipes were in my previous post involving the making of Gotlandsdricka but I’m convinced that this recipe trumps them all. Something cleansing, woodsy, wild and untamable. A few bottles are definitely going to be aged for the cold months to come, inevitably, in the future. Might be fun to hop this buddy up and try to convert it into an IPA, but I love it de-hopped, just over-the-top pure juniper; savory and delightfully rich. I wouldn’t change a thing to this base-line recipe.

Filed under: Ale, Beer, Herbal, Homebrew, Review | Tagged: ale, beer, gotlansdricka, Herbal, homebrew, juniper, review | 2 Comments »